DIY Window Blackout: Complete Guide to Darkening Your Windows
DIY window blackout: complete guide to darken your windows
Create a darker environment in your home can importantly improve sleep quality, reduce energy costs, and provide practically need privacy. Whether you’re a night shift worker, have a home theater, or merely prefer a darker sleeping environment, blackout solutions for your windows can make a tremendous difference. This comprehensive guide will walk you through various DIY methods to efficaciously will black out your windows without break the bank.
Why blackout your windows?
Before diving into the methods, let’s understand the benefits of black out windows:
- Improved sleep quality, particularly for shift workers
- Enhanced privacy
- Better temperature control and energy efficiency
- Reduced glare on screens and electronics
- Protection of furniture and floor from sun damage
- Creation of optimal conditions for home theaters
Temporary solutions for window blackout
If you’re rent, need a quick fix, or want to test before commit to permanent solutions, these temporary methods are ideal.
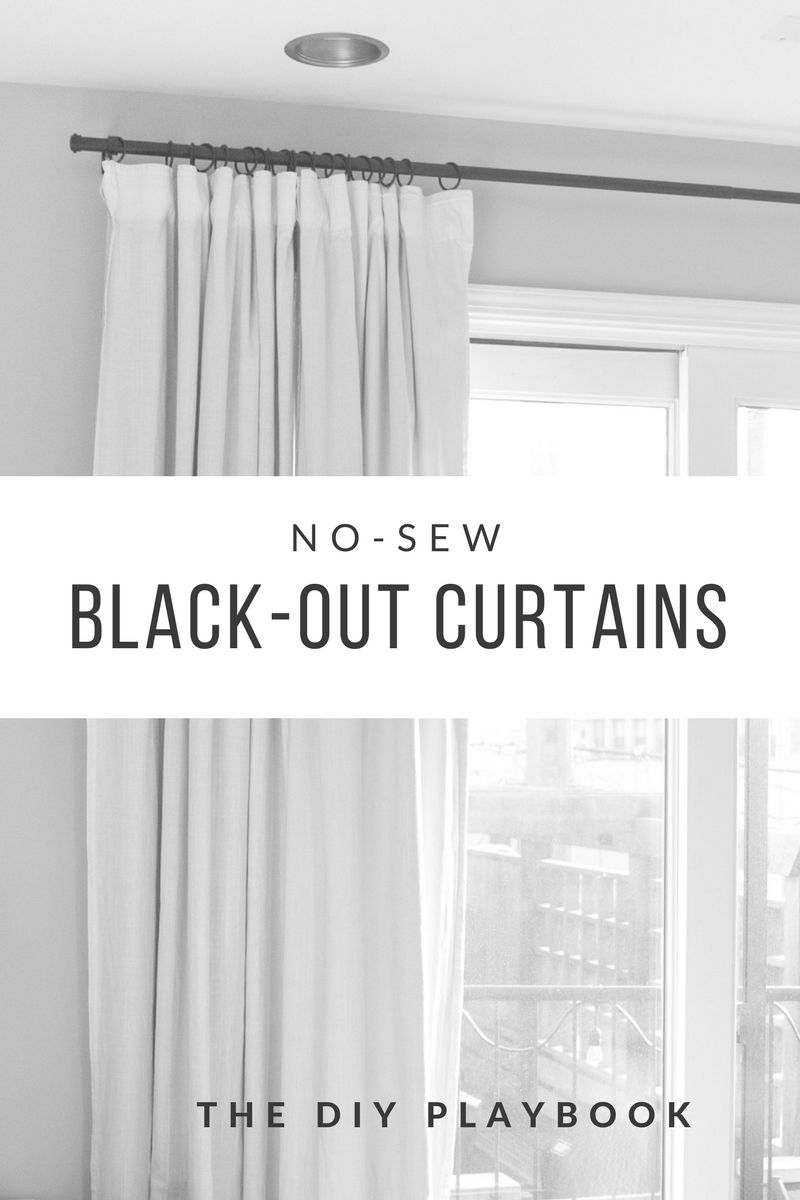
Blackout curtains
Blackout curtains are peradventure the simplest solution for most homeowners and renters.
Materials need:
- Blackout curtains or drapes
- Curtain rod and brackets
- Drill and screws
- Measure tape
Installation steps:
- Measure your window dimensions, add 4 6 inches on each side for maximum coverage
- Install curtain rod brackets near 4 6 inches above the window frame
- Mount the curtain rod
- Hang your blackout curtains
Pro tip:
For maximum darkness, choose curtains that extend beyond the window frame on all sides and touch the floor. Use wraparound rods to eliminate light gaps at the edges.
Blackout blinds
Blackout roller blinds offer a sleeker profile than curtains while silence provide excellent light blocking.
Materials need:
- Blackout roller blinds
- Mount brackets
- Drill and screws
- Measure tape
Installation steps:
- Measure your window opening incisively
- Install mount brackets accord to manufacturer instructions
- Click the blind mechanism into the brackets
- Test the operation
Pro tip:
Install blinds inside the window recess for a cleaner look, or outdoors and above the recess for better light blocking.
Temporary blackout window film
Removable blackout films adhere instantly to glass without permanent adhesives.
Materials need:
- Blackout window film
- Spray bottle with water and a drop of dish soap
- Squeegee or credit card
- Scissors or utility knife
- Measure tape
Installation steps:
- Clean your windows exhaustively
- Measure and cut the film slender larger than your window
- Spray the window with the water solution
- Remove the backing from the film and apply to the wet window
- Use the squeegee to push out air bubbles and excess water
- Trim excess film with a utility knife
Pro tip:
Apply film during the cooler part of the day to prevent it from dry also rapidly during installation.
Budget friendly DIY blackout solutions
These methods are perfect for those on a tight budget or look for a quick temporary solution.
Cardboard method
Peradventure the virtually economical solution, cardboard can be amazingly effective.
Materials need:
- Cardboard boxes (flatten )
- Scissors or utility knife
- Black paint (optional )
- Measure tape
- Painter’s tape or removable adhesive strips
Installation steps:
- Measure your window dimensions
- Cut knifelike to fit window precisely
- Paint cardboard black for better light absorption (optional )
- Attach to window frame use painter’s tape or removable adhesive strips
Pro tip:
For a more polished look, cover the room face side with decorative paper or fabric.
Aluminum foil method
Aluminum foil provide excellent light blocking and improve energy efficiency.
Materials need:
- Heavy-duty aluminum foil
- Spray bottle with water
- Scissors
- Measure tape
Installation steps:
- Measure and cut foil pieces slimy larger than your window panes
- Spray window glass with water
- Press foil onto wet glass, shiny side face outwards
- Smooth out bubbles and wrinkles
- Trim excess with scissors
Pro tip:
Be aware that some homeowner associations prohibit foil on Windows due to its reflective appearance from exterior. Check regulations before proceed.
Blanket or sheet method
Use what you already have at home can be an effective temporary solution.
Materials need:
- Dark, heavyweight blankets or sheets
- Thumbtacks, nails, or a tension rod
- Measure tape
Installation steps:
- Measure your window dimensions
- Select blankets or sheets larger than your window
- Hang use thumbtacks along the top of window frame (for temporary use )
- Instead, use a tension rod to hang blankets without damage walls
Pro tip:
Layer multiple blankets for better light blocking, and use dark colors for maximum effectiveness.
Semi-permanent diDIYlackout solutions
These solutions offer a more polished look while ease being removable when needed.
DIY blackout curtain liners
Transform regular curtains into blackout curtains with this method.
Materials need:
- Blackout fabric or liner material
- Exist curtains
- Fabric scissors
- Sewing machine or fabric adhesive tape
- Measure tape
- Pins
Installation steps:
- Measure your exist curtains
- Cut blackout fabric to match curtain dimensions
- Pin blackout fabric to the back of your curtains
- Sew around the edges or use fabric adhesive tape
- Hang curtains as normal
Pro tip:
Leave a slight gap at the bottom of the liner to allow curtains to hang course.
Magnetic blackout panels
These removable panels are perfect for windows you want to block occasionally.
Materials need:
- Black foam board or corrugated plastic
- Magnetic tape
- Scissors or utility knife
- Measure tape
- Metal thumbtacks or small metal strips (if window frame isn’t metal )
Installation steps:
- Measure your window dimensions
- Cut foam board or plastic to fit window precisely
- Attach magnetic tape strips around the edges of your panel
- If window frame isn’t metal, attach small metal pieces to the frame
- Press panel against window frame when need
Pro tip:
Paint or cover the room face side with decorative fabric for a more appealing look.
Permanent DIY blackout solutions
For homeowners seek long term solutions, these methods provide excellent results.
Window frame sealing
Flush with blackout curtains or blinds, light can leak through gaps around the window frame.
Materials need:
- Weatherstripping tape
- Caulk and caulking gun
- Draft stoppers
- Measure tape
- Scissors
Installation steps:
- Identify light leaks around your window frame
- Apply weatherstripping tape to movable parts of the window
- Use caulk to seal any fixed cracks or gaps
- Place draft stoppers at the bottom of curtains for additional sealing
Pro tip:
Test for light leaks by darken the room during daylight and look for any visible light penetration.
Permanent blackout window film
Unlike temporary films, these adhesive films provide a longsighted last solution.
Materials need:
- Permanent blackout window film
- Spray bottle with water and a drop of dish soap
- Squeegee or credit card
- Utility knife
- Measure tape
- Lint free cloth
Installation steps:

Source: series space.blogspot.com
- Clean windows good and ensure they’re wholly dry
- Measure and cut film slender larger than window dimensions
- Spray window with water solution
- Peel back off film and apply to wet window
- Use squeegee to remove bubbles and excess water
- Trim excess film with utility knife
- Allow 24 48 hours to full adhere
Pro tip:
For complete blackout, combine window film with blackout curtains to address any remain light leakage.
DIY window inserts
Custom-made make window inserts provide excellent light blocking and insulation.
Materials need:
- Rigid foam insulation board (1 2 inches thick )
- Black fabric or paint
- Utility knife
- Measure tape
- Spray adhesive
- Weatherstripping
Installation steps:
- Measure window recess dimensions exactly
- Cut foam board approximately 1/4 inch smaller than open
- Cover foam with black fabric use spray adhesive or paint it black
- Attach weatherstripping around the edges
- Press insert hard into window recess
Pro tip:
Add handles to easy remove inserts when not need.
Address common window blackout challenge
Strangely shape windows
For circular, arch, or other non-rectangular windows:
- Create templates use paper or cardboard
- Transfer template shape to black out material
- Use magnetic strips or Velcro for attachment
Large windows
For oversized windows that are difficult to cover:
- Combine multiple blackout panels
- Use track systems that allow panels to slide
- Consider layering solutions (film + curtains )
Rental properties
For situations where permanent modifications aren’t allowed:
- Use tension rods for curtain installation
- Try removable window film
- Consider freestone screens position near windows
Enhance your blackout solution
Add style to functional blackout solutions
Merely because its functional doesn’t mean it ccan’tbe attractive:
- Use decorative curtain holdbacks for daytime
- Layer sheer curtains under blackout curtains for versatility
- Choose blackout materials in colors that complement your decor
- Add trim or borders to plain blackout panels
Combine methods for maximum effectiveness
For complete darkness, particularly for shift workers or home theaters:

Source: fyoibzlkf.blob.core.windows.net
- Use window film plus blackout curtains
- Add door sweep to bedroom doors to block hallway light
- Cover electronic displays in the room
- Use draft stoppers at the bottom of curtains
Maintenance tips for DIY blackout solutions
Keep your blackout solutions work efficaciously:
- Regularly clean blackout curtains accord to manufacturer instructions
- Inspect for light leaks sporadically and address as need
- Re adhere any peel window film
- Replace weatherstripping that has compress over time
Final considerations
When select your DIY blackout method, consider these factors:
-
Permanence:
How proficient do you need the solution to last? -
Appearance:
How important is the aesthetic from both interior and exterior? -
Effectiveness:
Do you need 100 % blackout or is significant darken sufficient? -
Budget:
What’s your price range for materials? -
Ease of installation:
What are your DIY skill levels?
Conclusion
Create an effective blackout solution for your windows doesn’t have to be complicated or expensive. With the methods outline in this guide, you can achieve the darkness you need while maintain your home’s appearance and stay within your budget. Whether you’re improved sleep quality, create the perfect home theater environment, or plainly seek more privacy, theseDIYy blackout solutions provide practical options for every situation.
Remember that combine methods frequently yield the best results, particularly for rooms require complete darkness. Start with the simplest solution that meet your needs, and you can constantly upgrade to more permanent options previous.