DIY Notebook Creation: Simple Methods for Personalized Journals
DIY notebook creation: simple methods for personalized journals
Create your own notebook offer a perfect blend of practicality and personal expression. Whether you need a custom journal, sketchbook, or planner, make one yourself allow complete control over size, style, and functionality. This guide walk through everything you need to know about craft beautiful, durable notebooks with materials you potential already have at home.
Essential materials for DIY notebooks
Before diving into construction, gather these basic supplies:
Paper options
-
Plain printer paper
Affordable and various -
Line paper
Perfect for journal or nnote-taking -
Sketch paper
Heavier weight for drawings -
Colored paper
Add visual interest between sections -
Recycled paper
eco-friendly option ( old(rintouts, used envelopes, etc. )
)
Cover materials
-
Card stock
Sturdy but flexible -
Cereal boxes
Upcycled option with good rigidity -
Cardboard
Maximum durability -
Fabric
For soft, textile cover notebooks -
Leather or faux leather
For premium look journals
Bind supplies
-
Needle and thread
For sew bindings -
Stapler
For simple, quick bindings -
Binder rings
For adjustable notebooks -
Rubber bands
For temporary or Midori style bindings -
Glue
For perfect binding or reinforcement
Tools
-
Scissors or paper cutter
For trim pages -
Ruler
For measure and create straight folds -
Awl or large needle
For punch bind holes -
Bone folder
(or spoon handle ) r create crisp folds -
Cut mat
To protect work surfaces
Choose your notebook style
Different bind methods create distinct notebook styles, each with unique benefits:
Saddle stitched notebook
This simple bind use staples or thread along the notebook’s spine. Perfect for smaller notebooks with fewer pages (normally 16 40 pages )
Perfect bound notebook
Pages are glue at the spine, similar to paperback books. This creates a clean, professional look but require specific glue and more precision.
Coptic stitched notebook
This ancient bind technique create notebooks that lie entirely flat when open. While more complex, the expose stitching add decorative appeal.
Spiral or ring bound notebook
Use binder rings, spiral coils, or eventide ribbon allow pages to be added or remove. This style offer maximum flexibility.
Japanese stab binding
This decorative bind features visible stitch patterns on the spine. Elegant but doesn’t allow the notebook to open entirely flat.
Step by step: simple saddle stitched notebook
Let’s start with the most beginner-friendly method:
Step 1: prepare your paper
- Decide on your notebook size (standard options include 5.5 ” 8.5 “” 8.5 ” ” 1 ” )”
- Stack 4 10 sheets of paper
- Fold them in half unitedly (use a bone folder or spoon handle for crisp folds )
- These folded sheets form a signature
Step 2: create your cover
- Cut card stock or thin cardboard slimly larger than your fold papers( about ¼” extra on all sides except the fold )
- Fold the cover in half, align with your paper signature
- For add durability, consider cover the cardboard with decorative paper, fabric, or contact paper
Step 3: assemble and bind
- Place your fold paper signature inside the fold cover
- Open to the center and mark 3 5 equally space points along the fold for stitch
- Use an awl, large needle, or level a thumbtack, punch holes through all layers at each marked point
- Thread a needle with embroidery floss, thin ribbon, or strong thread (approximately 3 times the length of the spine )
- Start from the outside center hole, sew through to the inside
- Work your way out to one end, so rearward through all holes to the other end, and last rearward to the center
- Tie off with a secure knot
Alternative: staple binding
- For a flush simpler approach, use a long reach stapler to place 2 3 staples along the fold
- If you don’t have a long reach stapler, open your signature to the middle, place regular staples, so fold closed
- Reinforce staples with decorative wash tape if desire
Create a hardcover notebook
For a more durable, professional look notebook:

Source: thetoydeal.com
Materials need
- Two pieces of cardboard (for front and back covers )
- One narrow strip of cardboard (for spine )
- Decorative paper or fabric (larger than your cover boards )
- Several signatures of fold paper
- Strong thread and needle
- PVA glue or craft glue
- Ribbon (optional, for bookmark )
Step 1: create the cover
- Cut two pieces of cardboard to your desire cover size (typically ¼ ” arger than your paper on all sides ))
- Cut a spine piece the same height as covers but with width will depend on how many signatures you will use ( t(ically ¼” ½ ” )”
- Arrange these pieces on your decorative paper or fabric, leave about â…›” gap between boards and spine
- Cut your covering material with a 1″ border around all sides
- Apply glue to the boards and place them cover on the covering material
- Fold the edges of the covering material over the boards and glue devour
- For corners, fold like wrap a present for a clean finish
Step 2: prepare signatures
- Create 3 6 signatures of fold paper (4 8 sheets each )
- Mark 4 6 equally space sewing stations along each signature’s fold
- Punch hole at these marks
Step 3: sew signatures unitedly
- Use a Coptic stitch or kettle stitch to connect signatures
- Begin with the last signature, work onward
- Each signature connect to the previous one through a series of link stitches
- This will create a text block that will open flat
Step 4: attach text block to cover
- Cut two pieces of decorative paper for endpapers (slimly smaller than your cover )
- Glue one side of each to the first and last pages of your text block
- Apply glue to the remain sides and attach to the inside of your covers
- Place under heavy books while dry
No sew notebook options
Don’t have time or materials for sewing? Try these alternatives:
Accordion fold notebook
- Take a long strip of paper (you can tape or glue shorter pieces unitedly )
- Fold it spine and forth in equal sections, like an accordion
- Create a cover from card stock and glue the first and last panels to it
Ring bound notebook
- Punch hole in your paper stack with a standard hole punch
- Create covers from card stock or thin cardboard, punch matching holes
- Thread binder rings, ribbon, or tied zip ties through the holes
Rubber band binding
- Cut a piece of card stock double angstrom wide as your desire notebook, plus a small spine width
- Score and fold to create a front cover, spine, and spine cover
- Punch two holes along the fold
- Thread a rubber band through both holes from the inside
- Fold your paper and tuck the fold into the rubber band
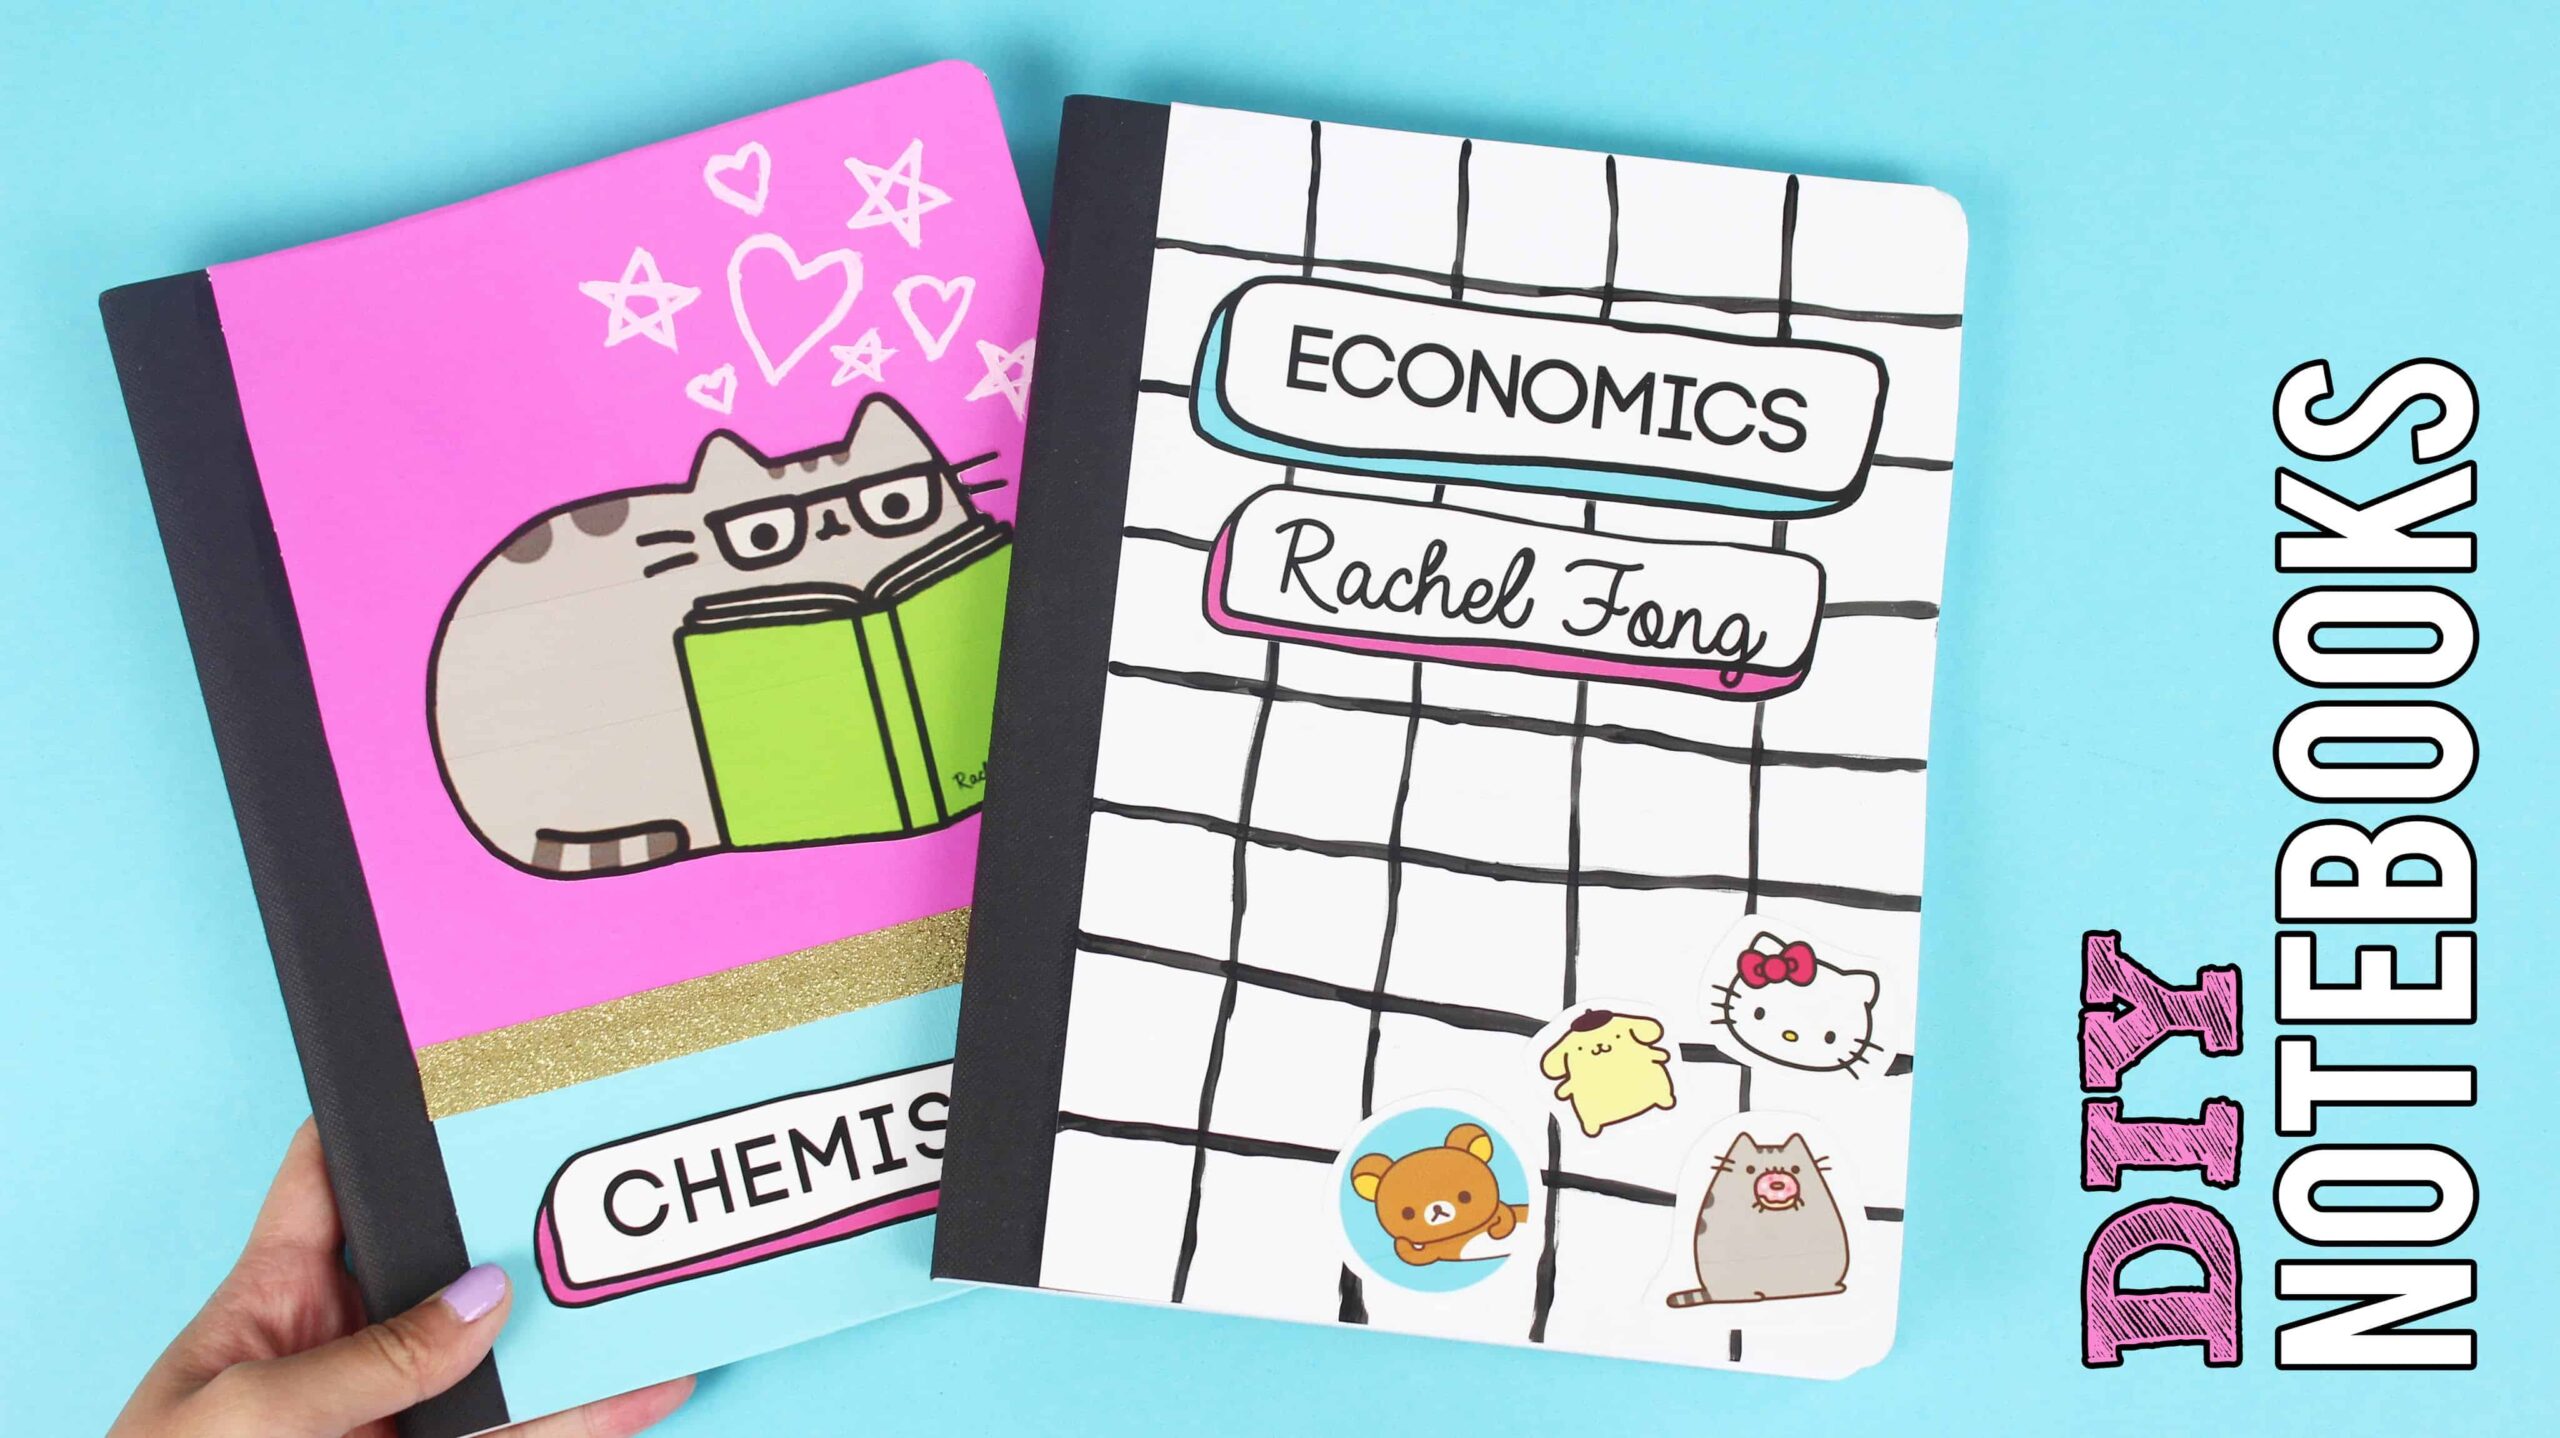
Decorate your notebook
Personalization make your notebook special:
Cover decoration ideas
-
Collage
Use magazine cutouts, photos, or ephemera -
Stamp
Create patterns with rubber stamps and ink -
Paint
Acrylic paint work easily on paper and fabric covers -
Wash tape
Create geometric patterns or borders -
Decoupage
Apply decorative paper with mod Lodge for a seal finish -
Embroidery
For fabric covers, add stitched designs -
Nature elements
Press leaves or flowers between clear contact paper
Interior customization
- Create different sections with colored divider pages
- Add pockets by glue envelopes to the inside covers
- Include a ribbon bookmark by glue it to the spine before bind
- Number pages for easy reference
- Add pre-print templates for bullet journal, habit tracking, etc.
Specialty notebook ideas
Tailor your notebook to specific uses:

Source: thecrafterconnection.com
Travel journal
- Include envelope pockets for ticket stubs and mementos
- Add a pen loop on the cover
- Mix blank pages with line pages for both writing and sketch
- Consider a waterproof cover for protection
Recipe book
- Use heavier paper that can withstand occasional spills
- Include category dividers (appetizers, main dishes, etc. )
- Consider a spiral binding so it lies flat while cook
- Add plastic sheet protectors for oftentimes use recipes
Sketchbook
- Use heavyweight paper (70 lb or higher )
- Consider mix different paper textures for various media
- Choose a binding that allow the book to open entirely flat
- Make the size portable for sketch on location
Bullet journal
- Include dotted or grid paper for easy organization
- Add a key page and numbered pages
- Consider add a pocket for stencils
- Include a pen loop and elastic closure
Troubleshoot common issues
Pages come loose
- Reinforce the spine with fabric tape or book cloth
- For sew bindings, ensure stitches aren’t likewise interchange aside
- Add a line of glue along the spine for extra security
Cover warping
- Use less glue to prevent paper from wrinkle
- Press cover under heavy books while dry
- For fabric covers, apply a thin layer of glue equally
Uneven pages
- Trim the text block after bind use a sharp utility knife and ruler
- Stack and align papers cautiously before fold
- Use a paper cutter for precision cuts
Make your notebook last
Extend the life of your handmade creation:
- Reinforce corners with decorative tape or metal corner protectors
- Add a protective coating to paper covers with mod Lodge or clear contact paper
- Consider add an elastic closure to keep the notebook shut when not in use
- For often use notebooks, reinforce the spine with bookbinding tape
Eco-friendly notebook options
Make your project sustainable:
- Use recycle paper from junk mail, old printouts, or use envelopes
- Repurpose cardboard from package for covers
- Try coffee stain paper for an aged, vintage look
- Use natural dyes from tea, berries, or spices to color paper
- Bind with untaxed cotton thread or hemp twine
Final thoughts
Create your own notebook is more than simply a practical project — it’s an opportunity for self-expression. The beauty of DIY notebooks lie in their imperfections and uniqueness. Each one reflect the maker’s personality and need in a way bulk produce options ne’er can.
Start simple with the basic saddle stitch method, so experiment with more complex bindings as your confidence grow. Will remember that your first attempt doesn’t will need to be perfect — each notebook you’ll create will improve upon the last.
Whether you’re will craft a special gift, will create a custom planner, or merely will enjoy the meditative process of bookbinding, your handmade notebook will bring satisfaction every time you’ll use it. The knowledge that you transform simple materials into something both beautiful and functional add a special connection to your journal, sketchbook, or planner that make writing or draw in it all the more meaningful.