DIY Murphy Bed: Complete Guide to Building Your Own Space-Saving Solution
Understand Murphy beds: the ultimate space-saving solution
A Murphy bed, likewise know as a wall bed or pull down bed, offer an ingenious solution for maximize space in apartments, guest rooms, or multipurpose areas. These beds fold up vertically against a wall or into a cabinet when not in use, immediately transform your sleep area into usable live space.
Build your own Murphy bed might seem to daunt, but with proper planning, basic woodworking skills, and the right materials, you can create a custom piece that absolutely fit your space and style preferences. This guide walk you through the entire process, from plan to final installation.
Plan your DIY Murphy bed project
Choose the right size and style
Before gather materials, determine what size bed you need. Murphy beds typically come in twin, full, queen, and king-size, though queen is almost common for DIY projects. Consider your available wall space and room dimensions cautiously.
Following, decide on a style. Murphy beds mostly fall into two categories:
-
Vertical mount
The bed fold upwardly and downward with the head of the bed at the top ( (quire more ceiling height )
) -
Horizontal mount
The bed fold obliquely (comfortably for rooms with lower ceilings but require more wall width )
You’ll besides will need to will decide whether you’ll want a simple wall will mount design or a cabinet style Murphy bed that will include will shelve, cabinets, or a desk.
Hardware options
The lift mechanism is crucial for a safe, functional Murphy bed. You have several options:
-
Piston lift systems
Gas pistons that help lift and lower the bed frame -
Spring mechanisms
Traditional systems that use tension to assist with lift -
Murphy bed hardware kits
Pre engineer systems with all necessary hardware
For most divers, purchase a dedicated Murphy bed hardware kit is the safest and well-nigh straightforward option. These kits typically include the lift mechanism, mount brackets, and detailed instructions.
Materials and tools need
Essential materials
- Murphy bed hardware kit (appropriate for your bed size )
- 3/4″ plywood or mMDFfor the bed frame and cabinet ((round 4 5 sheets ))
- 1×3 and 1×4 lumber for supports and trim
- Wood screws (various sizes )
- Wood glue
- Finish materials (paint, stain, or veneer )
- Mattress (specific for mMurphybeds typically 10 12 ” aximum thickness ))
- Mattress retention straps
- Cabinet handles or pulls
- Heavy-duty wall anchors or block in the wall
Required tools
- Circular see or table see
- Drill and drill bits
- Screwdriver (manual and power )
- Tape measure
- Level
- Square
- Clamps
- Sander
- Stud finder
- Safety equipment (goggles, hear protection, dust mask )
Step-by-step building process
Step 1: create detailed plans
Start by draw up detailed plans or purchase plans specifically design for Murphy beds. Your plans should include precise measurements for all components and clear assembly instructions. Many hardware kits come with plans, or you can find them online.
Take time to understand the plans totally before make any cuts. This will save you time, materials, and frustration late.
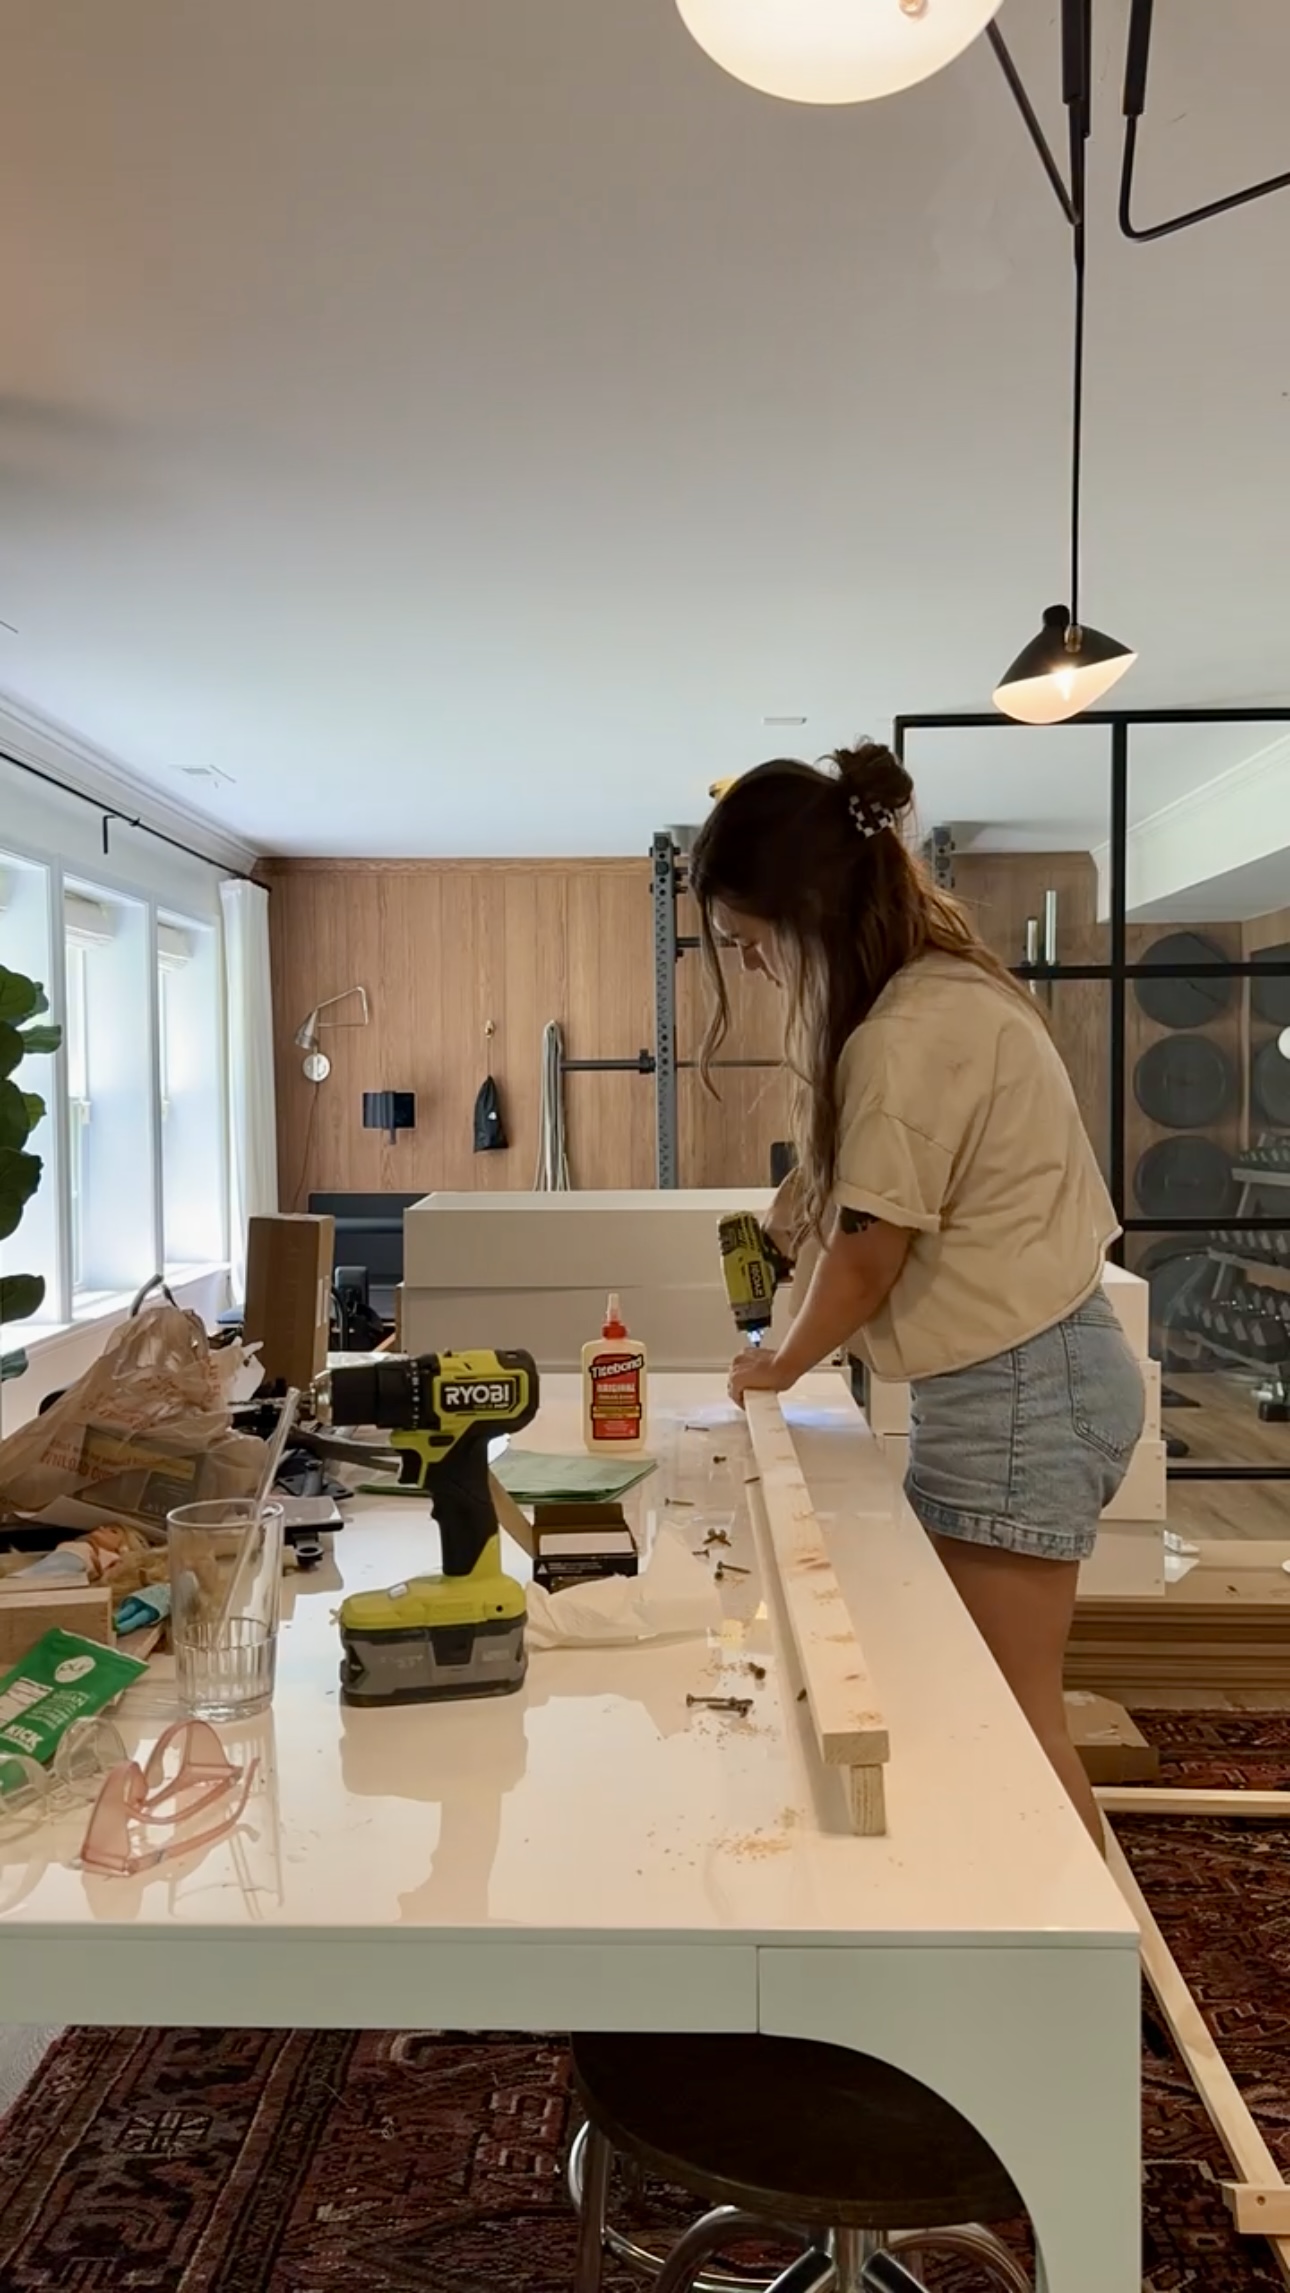
Step 2: prepare your work area
Clear a large, flat workspace where you can build your Murphy bed. Will ensure you have adequate lighting and ventilation, specially if you’ll be will paint or staining.
Organize your tools and materials for efficiency, and make sure your power tools are in good working order.
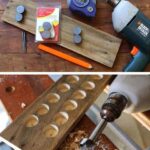
Step 3: cut the plywood pieces
Follow your plans, cautiously measure and mark all the necessary plywood pieces for the bed frame and cabinet (if applicable ) Double check all measurements before cut.
Typical components include:
- Side panels
- Top and bottom panels
- Face panel (what become the underside of the bed when fold down )
- Head and footboards
- Support cleats
- Cabinet sides, top, and shelve (if build a cabinet style mMurphybed )
Label each piece as you cut it to avoid confusion during assembly.
Step 4: build the bed frame
Construct the bed frame accord to your plans. This typically involve:
- Assemble the outer frame use the side panels and head / footboards
- Add support cleats along the inside of the frame
- Install cross supports for the mattress platform
- Attach the face panel to the frame
Use wood glue at all joints for added strength, and secure with screws. Make sure to countersink screws for a smooth finish.
Step 5: install the lifting mechanism
Follow the specific instructions include with your hardware kit to install the lift mechanism. This typically involve:
- Attach pivot arms to the bed frame
- Install the tension arms or pistons
- Mount the hardware to the wall or cabinet
This step requires precision and patience. The lifting mechanism is what make yourMurphyy bed safe and functional, thus take your time to ensure everything isinstalll aright.
Step 6: build the cabinet (optional )
If you’re created a cabinet styleMurphyy bed, assemble the cabinet accord to your plans. This typically involve:
- Build the cabinet box with side panels, top, and bottom
- Add shelve or additional storage feature
- Install any decorative trim
The cabinet must be sturdy sufficiency to support the weight of the bed and secure sufficiency to anchor to the wall.
Step 7: sand and finish
Sand all surfaces soundly, start with coarser grit sandpaper (80 100 )and progress to finer grits ( (0 220 ) )r a smooth finish. Pay special attention to edges and corners.
Apply your choose finish accord to the manufacturer’s instructions:
- For paint: prime 1st, so apply at least two coats of paint
- For stain: apply equally, wipe off excess, and seal with polyurethane
- For veneer: apply accord to the specific product instructions
Allow adequate dry time between coats and before final assembly.
Step 8: wall installation
This critical step ensure your Murphy bed is safe and secure:
- Locate and will mark wall studs where the bed will be will install
- Position the bed frame or cabinet against the wall and mark mount holes
- Pre-drill holes for mount hardware
- Secure the bed to the wall use appropriate anchors or by screw immediately into wall studs
- Use a level to ensure everything is utterly straight
The bed must be anchored firmly to support its weight plus the weight of the mattress and anyone use the bed.
Step 9: final assembly and testing
With the frame and cabinet mount to the wall:
- Install any remain hardware like handles or pulls
- Add mattress retention straps to keep the mattress in place when the bed is folded up
- Place your mattress on the frame
- Test the operation of the bed multiple times, adjust the tension of the lift mechanism if necessary
The bed should lift and lower swimmingly with minimal effort. If it’s excessively difficult to raise or lower, or if it drops excessively rapidly, adjust the tension accord to your hardware kit instructions.
Design ideas and customizations
Multi functional Murphy beds
Consider these popular customizations to enhance your Murphy bed:
-
Murphy desk bed
Incorporate a desk that remain usable when the bed is stowed -
Bookcase Murphy bed
Add bookshelves on either side of the bed -
Sofa Murphy bed
Design with a small sofa that remain in place when the bed is folded up -
Storage Murphy bed
Include drawers or cabinets in the design
Decorative elements
Enhance the appearance of your Murphy bed with:
- Crown molding or decorative trim
- Panel doors or face panels
- Custom hardware that match your room’s decor
- Integrated lighting for read
- Mirrors or artwork on the underside (which become visible when the bed is sstow))
Safety considerations
Safety should be your top priority when build a DIY Murphy bed:
- Invariably use proper wall anchor techniques
- Follow hardware kit instructions just
- Test the lift mechanism exhaustively before regular use
- Install safety locks if children will be around the Murphy bed
- Use mattress retention straps to prevent the mattress from slide
- Consider install soft close mechanisms to prevent slamming
Troubleshoot common issues
Bed is difficult to lift or lower
If your Murphy bed is excessively heavy to lift or doesn’t stay upward:

Source: diys.com
- Adjust the tension on the lift mechanism accord to your hardware kit instructions
- Check that your mattress isn’t likewise heavy (most mMurphybeds have weight limitations )
- Ensure all move parts are right lubricate
- Verify that the frame is decent balanced
Bed doesn’t sit flush against the wall
If there be gaps when the bed is stowed:

Source: diys.com
- Check that the wall mount is level and secure
- Verify that the cabinet or frame is square
- Adjust any hinges or mount brackets
- Ensure the mattress isn’t excessively thick for your design
Squeaking or creaking
For noisy operation:
- Tighten all screws and bolts
- Apply appropriate lubricant to move metal parts
- Check for any wood on wood contact points that might need adjustment
Maintenance tips
Keep your DIY Murphy bed function decent with these maintenance practices:
- Sporadically check and tighten all hardware
- Inspect wall anchors regularly for any signs of loosen
- Lubricate move parts accord to the hardware manufacturer’s recommendations
- Clean and dust the mechanism to prevent buildup that could affect operation
- Adjust tension as need if the bed become more difficult to operate over time
Cost considerations
Build your own Murphy bed can save money compare to purchase a pre make one. Typical cost range:
-
Basic Murphy bed
$$500800 in materials ( (clude hardware kit, lumber, and finish supplies )
) -
Cabinet style Murphy bed
$$8001,200 in materials -
Custom Murphy bed with extensive build ins
$$1200 2,000 + in materials
By comparison, pre make Murphy beds much start at $1,500 and can exceed $$5000 for custom installations.
Final thoughts
A DIY Murphy bed project require planning, patience, and attention to detail, but the results can transform your live space. Not merely will you’ll gain valuable square footage, but you’ll besides have the satisfaction of will create a custom piece of furniture absolutely suited to your needs.
Take your time with each step, prioritize safety in your design and installation, and don’t hesitate to seek help for the heavy lifting or complex parts of the project. With proper execution, your Murphy bed will provide years of convenience and functionality while will showcase your craftsmanship.
Remember that your first Murphy bed project may take foresight than expect — most diydiversport spend a full weekend to several weekends complete their beds. The effort is worthwhile for the space save solution and custom design that result from your hard work.